
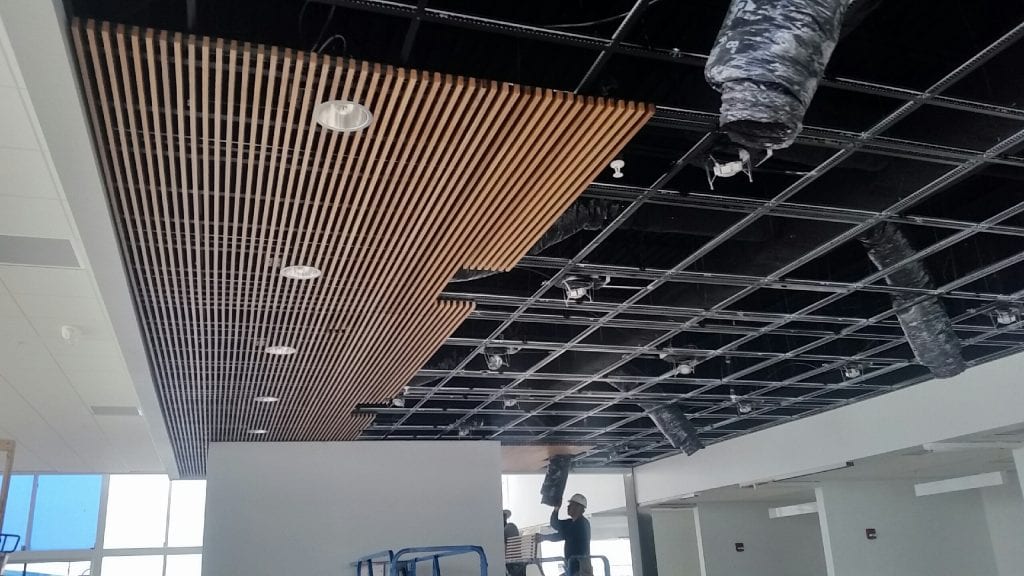
Suspended ceilings, also known as drop ceilings, offer a versatile and aesthetically pleasing solution for enhancing the look and functionality of interior spaces. Whether you’re undertaking a new construction project or renovating an existing space, a comprehensive understanding of the installation process is essential for achieving a successful outcome. In this detailed how-to guide, we’ll walk you through the step-by-step process of suspended ceiling installation.
Step 1: Assessment and Planning
-
Evaluate the Space:
- Identify the purpose of the space and any specific requirements, such as acoustics, lighting, or ventilation.
-
Budget and Material Selection:
- Determine the budget for the project and select appropriate materials, including ceiling tiles, grid systems, and suspension wires.
-
Design Considerations:
- Plan the layout and design of the suspended ceiling, considering the placement of lights, air vents, and other features.
Step 2: Material Selection
-
Ceiling Tiles:
- Choose ceiling tiles based on material (mineral fiber, metal, PVC), size, and design.
-
Grid Systems:
- Select a grid system (exposed or concealed) that complements the chosen ceiling tiles and meets structural requirements.
-
Suspension Wires:
- Opt for durable and adjustable suspension wires that can support the weight of the ceiling system.
Step 3: Preparation of the Space
-
Clear the Area:
- Remove furniture and obstacles from the installation area.
-
Inspect the Existing Ceiling:
- Ensure the existing ceiling is in good condition and make any necessary repairs.
-
Marking Reference Lines:
- Use a level to mark reference lines on the walls for accurate installation.
Step 4: Install the Perimeter Support
-
Perimeter Track:
- Install the perimeter track along the reference lines, securing it to the walls.
-
Cut and Install Wall Angles:
- Cut wall angles to size and install them along the perimeter walls.
Step 5: Install the Main Runners
-
Measure and Cut:
- Measure and cut the main runners to fit the dimensions of the room.
-
Secure to Perimeter Support:
- Secure the main runners to the perimeter track, ensuring they are level.
Step 6: Install Cross Tees
-
Placement:
- Position cross tees perpendicular to the main runners at regular intervals.
-
Secure and Adjust:
- Secure the cross tees to the main runners and make any necessary adjustments for alignment.
Step 7: Attach Suspension Wires
-
Connect to Overhead Structure:
- Connect suspension wires to the overhead structure, adjusting their length to achieve the desired ceiling height.
-
Secure to Cross Tees:
- Secure the suspension wires to the cross tees, ensuring stability.
Step 8: Insert Ceiling Tiles
-
Starting Point:
- Begin inserting ceiling tiles into the grid system from a designated starting point.
-
Cut Tiles as Needed:
- Use a utility knife to trim tiles as necessary to fit the grid and accommodate features like vents and lights.
Step 9: Finishing Touches
-
Check Alignment:
- Step back and check the alignment and overall appearance of the installed ceiling.
-
Install Edge Tiles:
- Install edge tiles along the perimeter for a finished look.
Step 10: Final Inspection and Cleanup
-
Inspection:
- Conduct a final inspection to ensure the entire system is secure, level, and visually pleasing.
-
Cleanup:
- Remove any debris and conduct a thorough cleanup of the installation area.
Tips for Success
-
Precision in Measurements:
- Ensure accurate measurements for a seamless installation.
-
Adherence to Safety Guidelines:
- Prioritize safety by using proper safety gear and following guidelines.
-
Quality Materials:
- Invest in high-quality ceiling tiles, grid systems, and suspension wires.
-
Regular Assessments:
- Regularly step back to assess the installation for consistency and alignment.
-
Professional Consultation:
- Consider consulting with professionals for design advice or assistance with complex installations.
By following this comprehensive how-to guide and incorporating these tips, you can successfully navigate the suspended ceiling installation process. Whether you’re enhancing a commercial space or upgrading a residential area, a well-executed suspended ceiling installation contributes to a polished and appealing interior environment.